Back to Catalog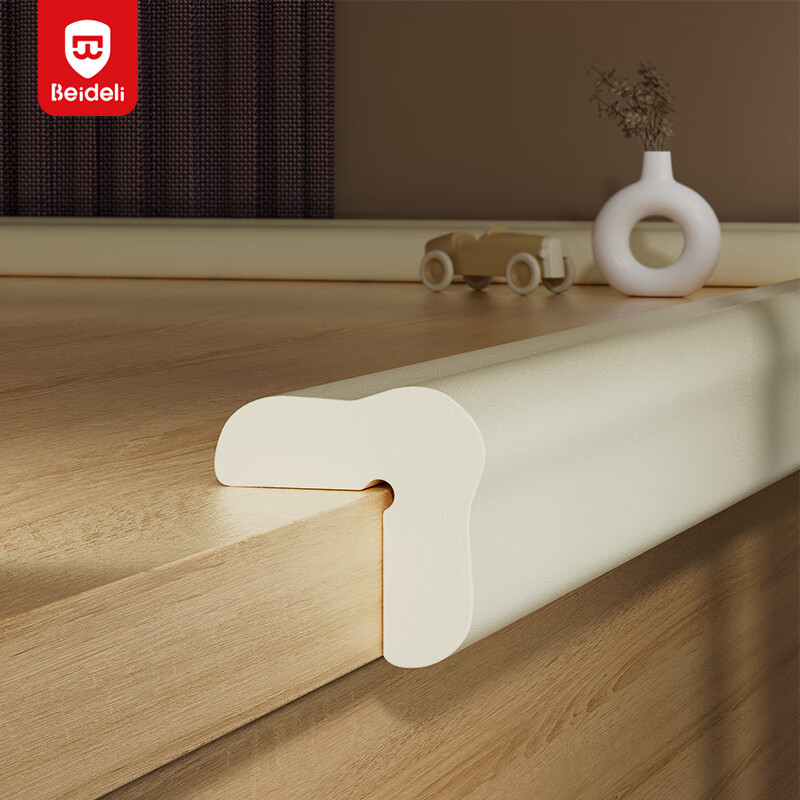
 View
 View
 View
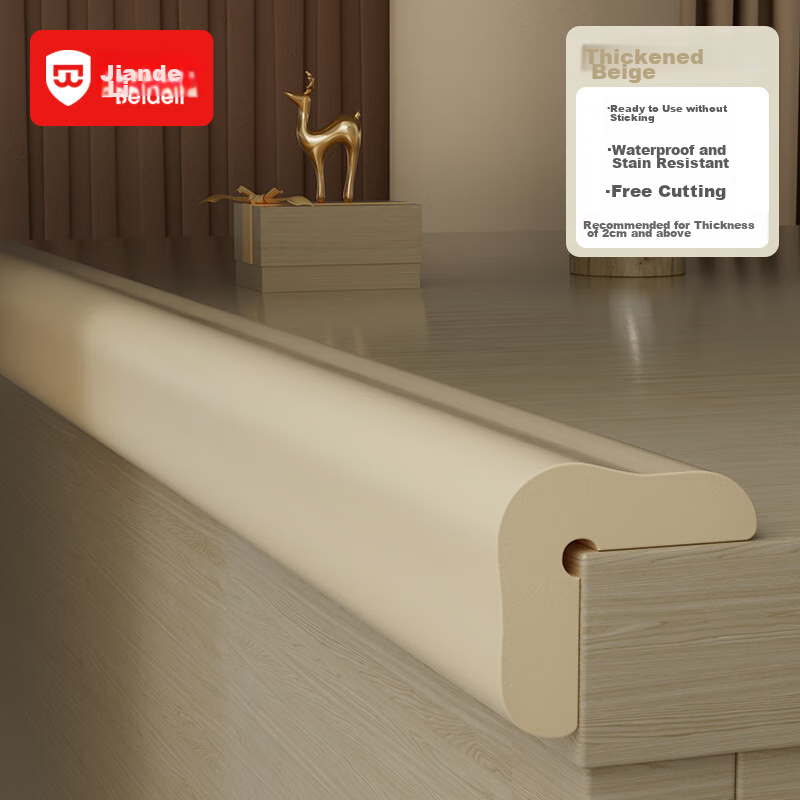
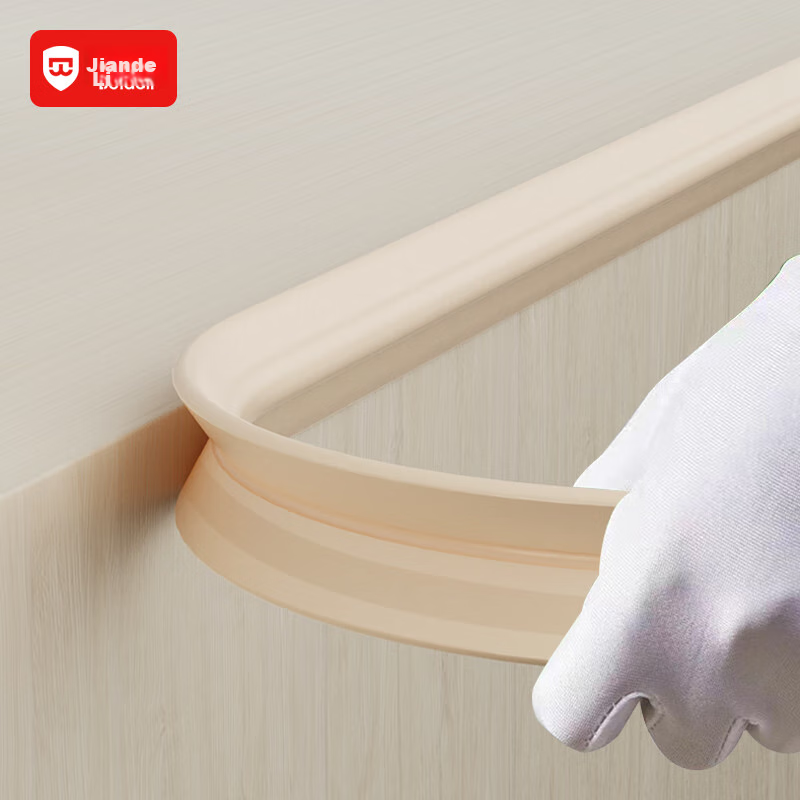
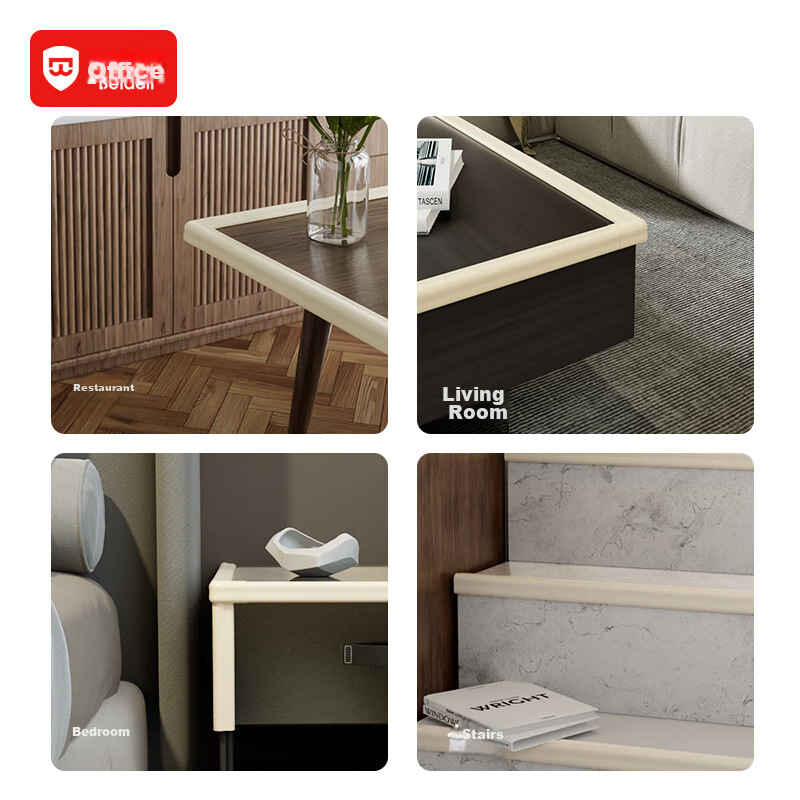
BEIDELI Anti-Collision Strip, Baby And Infant Protection Bumper, No Adhesive Required, Widened And Thickened, Beige, L-Shaped, 4 Meters Long
CN¥20.90
SKU: 100004383354
Status:In Stock (814)
ID: 100004383354
Weight: 262.00 g
Dims:360x350x50 mm
Specifications
- Scope of application
- Cabinet, Table
- Material
- NBR
Variants / Sale Attributes
Specifications: Sanjia Thick Self-Adhesive 4-Meter Roll, Beige, 17mm Thick
Package Contents
Beige self-adhesive bumper strip 4 meters
Product Description
Overview
- Brand
- BEIDELI
- Material
- NBR material
- Color
- As shown in the image
Specifications
| Item | Detail |
|---|---|
| L-shaped bumper strip | 13 mm x 4 m |
| Upgraded thickened and widened L-shaped bumper strip | 17 mm x 4 m |
Features
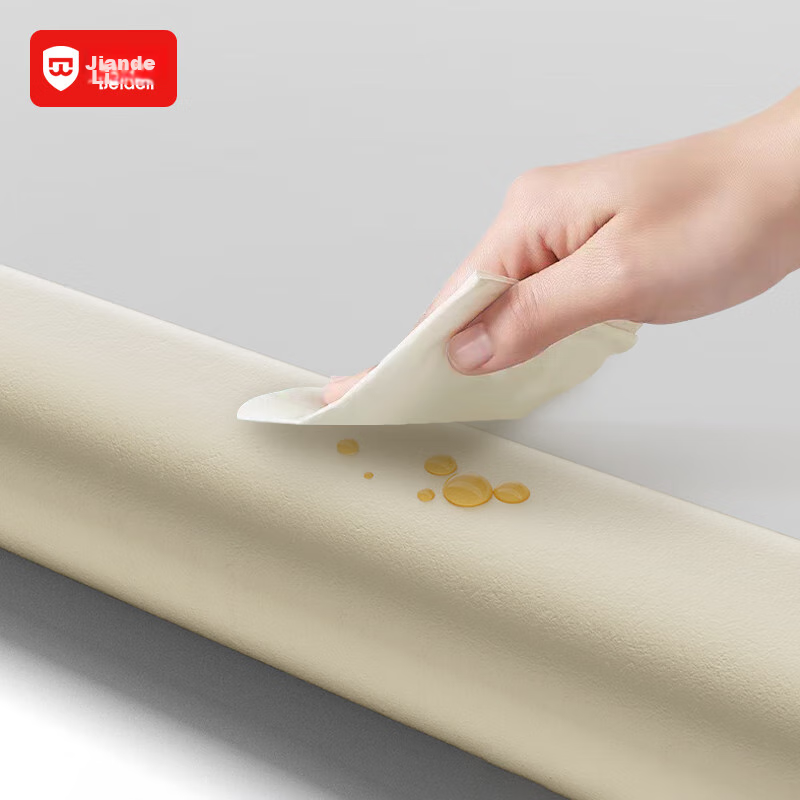
- High-strength NBR material, resistant to violent pulling
Similar Products
In Stock
OUYUNBumper/guard components
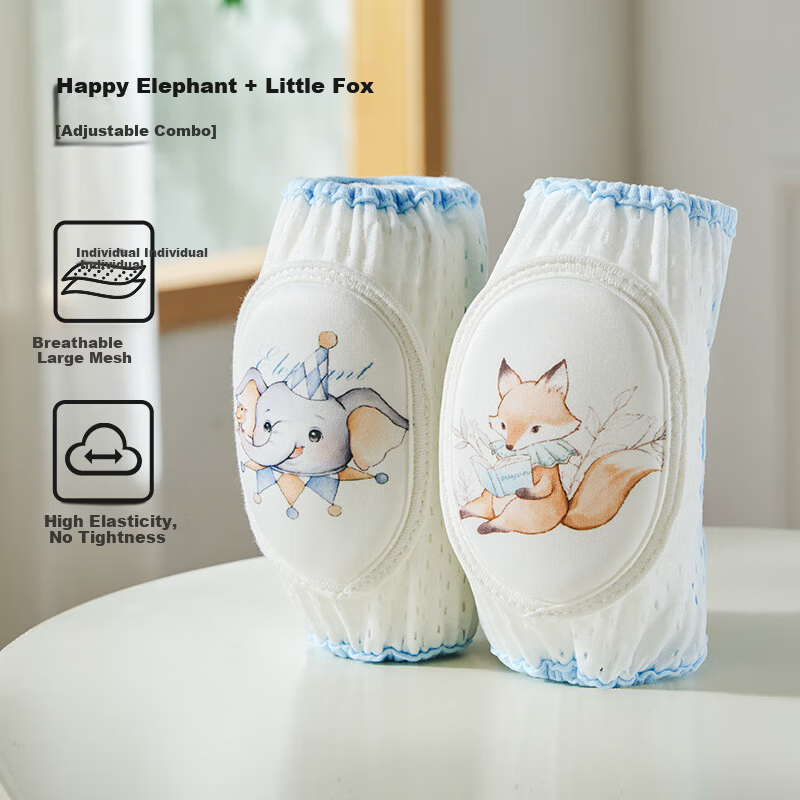
OUYUN Baby Knee Pads Crawling Anti-Fall Protective Gear Children's Knee and Elbow Pads Happy Elephant + Little Fox
Elephant + Little Fox | Adjustable Style | Two Pairs Set
CN¥43.90
In Stock
BEIDELIBumper/guard components
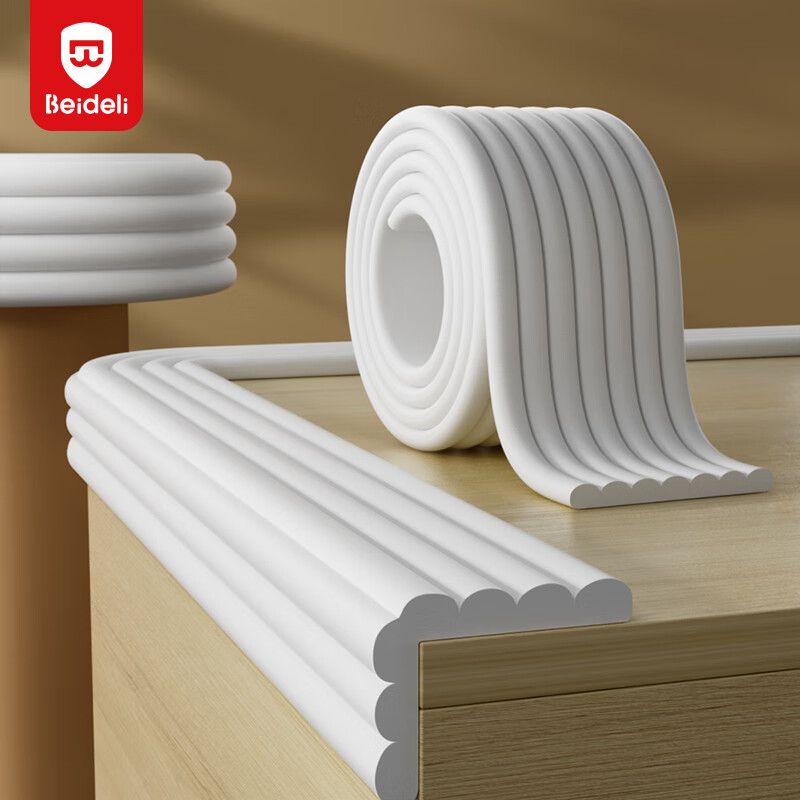
BEIDELI Multifunctional Anti-Collision Strip for Baby Furniture, Cabinet Corner Guard, Protective Edge Strip, No Glue Required, W-Shaped White, 4 Meters
8cm No-Adhesive 4-Meter White
CN¥18.90
In Stock
EUDEMONBumper/guard components
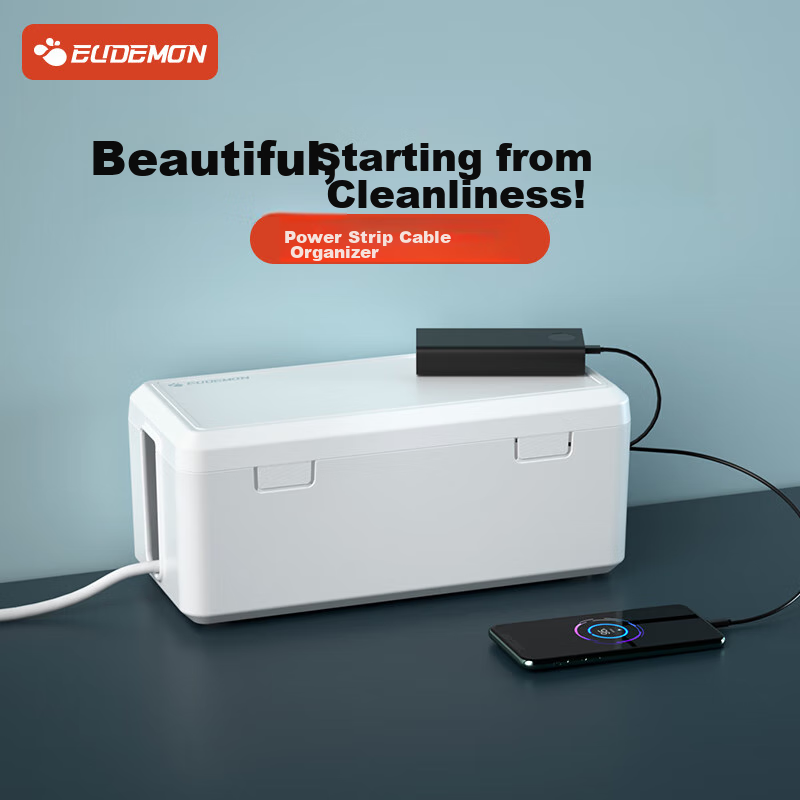
EUDEMON Baby Electric Shock Prevention Socket, Child Safety Power Cord Extension, Plastic Storage Box, 1 Piece
Power Strip Storage Box - 1 Piece
CN¥24.02