Back to Catalog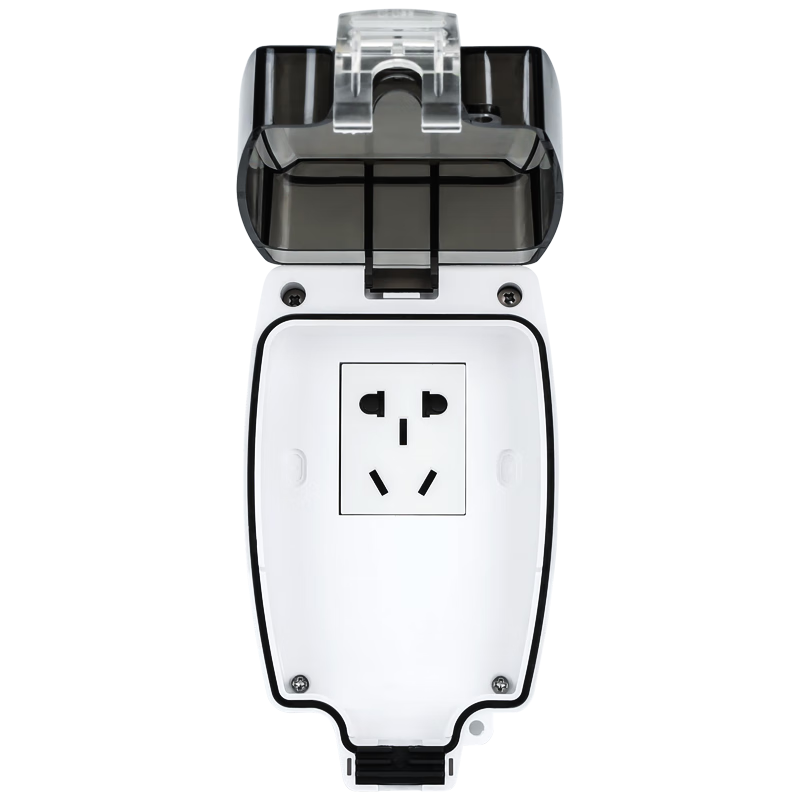
 View
 View
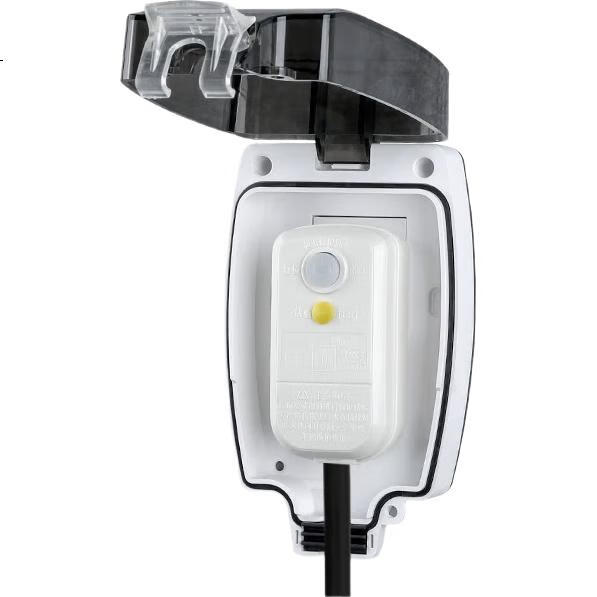
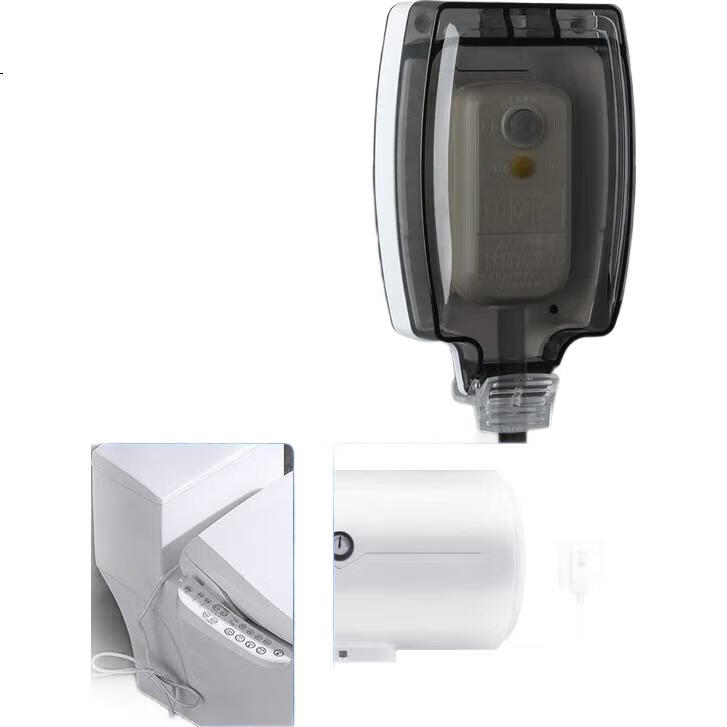
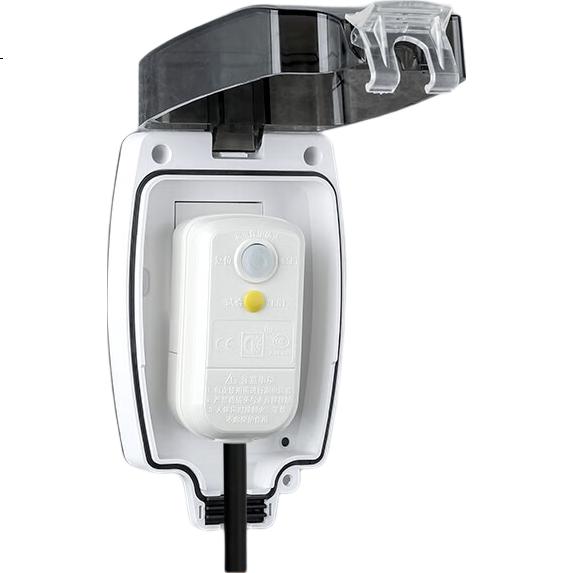
Xiya Smart Toilet Socket, Water Heater Bathroom Leakage Protection Plug, Waterproof Box, Concealed Installation, Outdoor Splash-Proof Box
CN¥45.60
SKU: 100034164082
Status:In Stock (4)
ID: 100019887188
Weight: 210.00 g
Dims:165x93x92 mm
Specifications
- Lamp circuit control
- Non-Switching
- Socket type
- Ordinary Wall Socket
- Category
- Socket
- Jack current
- 10A
- Number of units
- Five-Socket
- Product Dimensions
- 86*86mm
- Toggle method
- Non-Switching
- Mounting Hole Distance
- 60mm
Variants / Sale Attributes
Type: Concealed - Smart Toilet Socket - Five-Hole 10A
Package Contents
Waterproof socket *1 Waterproof plug *2
Product Description
Overview
- Brand
- Xiya
- Waterproof
- Yes
- Specialty
- Leakage protection, waterproof socket
- IP Rating
- IP65
- Sealing
- 360° waterproof sealing to prevent splashing
- Material
- Flame-retardant rubber seal, durable
- Compatibility
- Compatible with most leakage protection plugs on the market
Similar Products
In Stock
BULLSwitch Socket
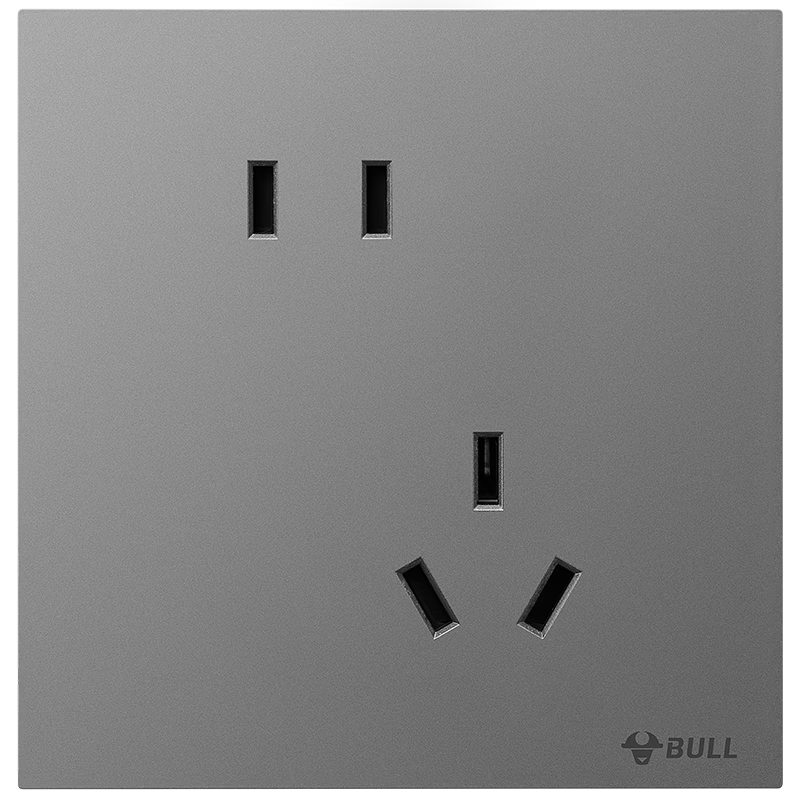
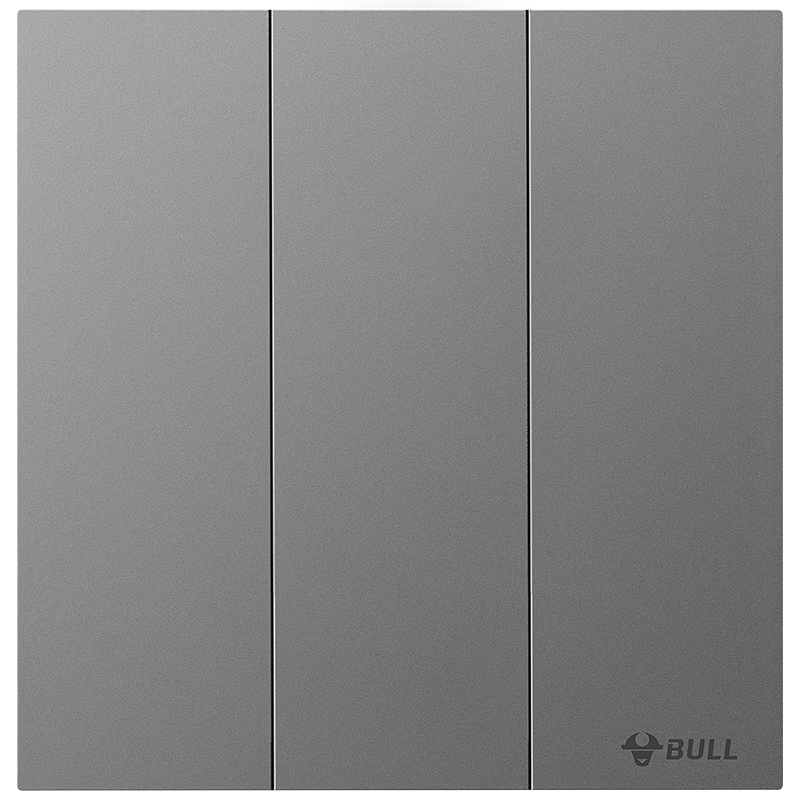
BULL G57 Butterfly Ultra-Thin Series Triple Control Switch Large Panel Switch G57K312 Distant Mountain Gray
Threegang double control switch
CN¥46.20
In Stock
BULLSwitch Socket
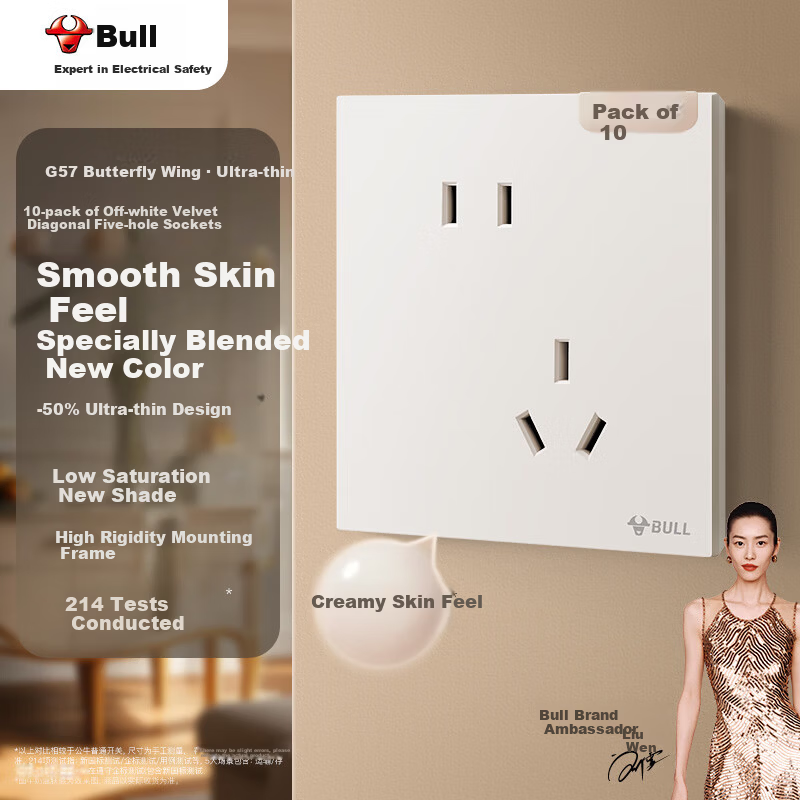
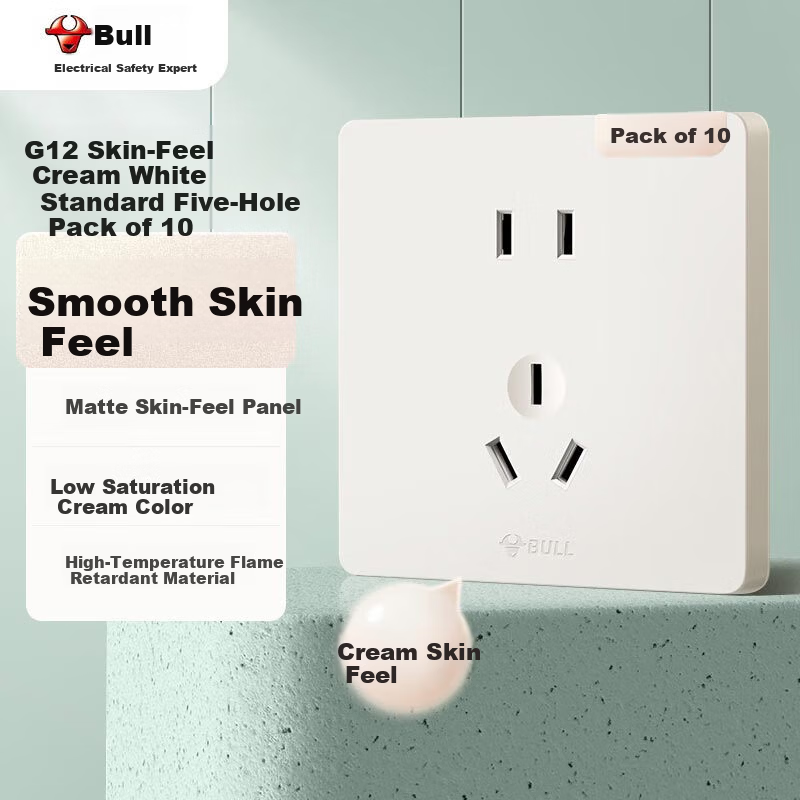
BULL Switch Socket G12 Skin-Feel Matte Cream Style 10A Five-Hole 10-Pack Set G12Z223S Milky White
[Bulk Pack Hot Item] Set of 10 Standard FiveHole Sockets
CN¥105.14