Back to Catalog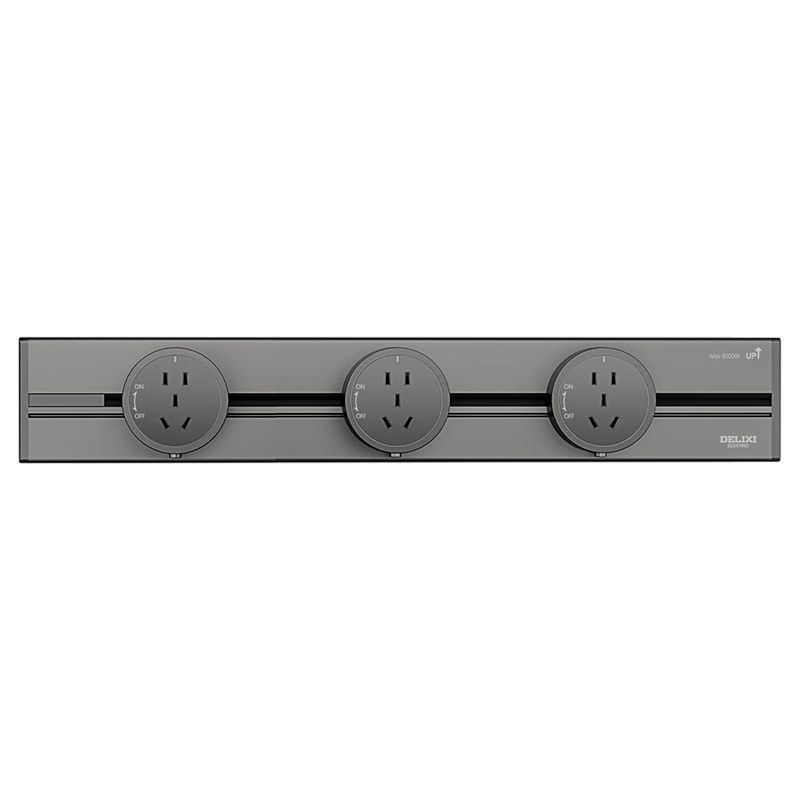
 View
 View
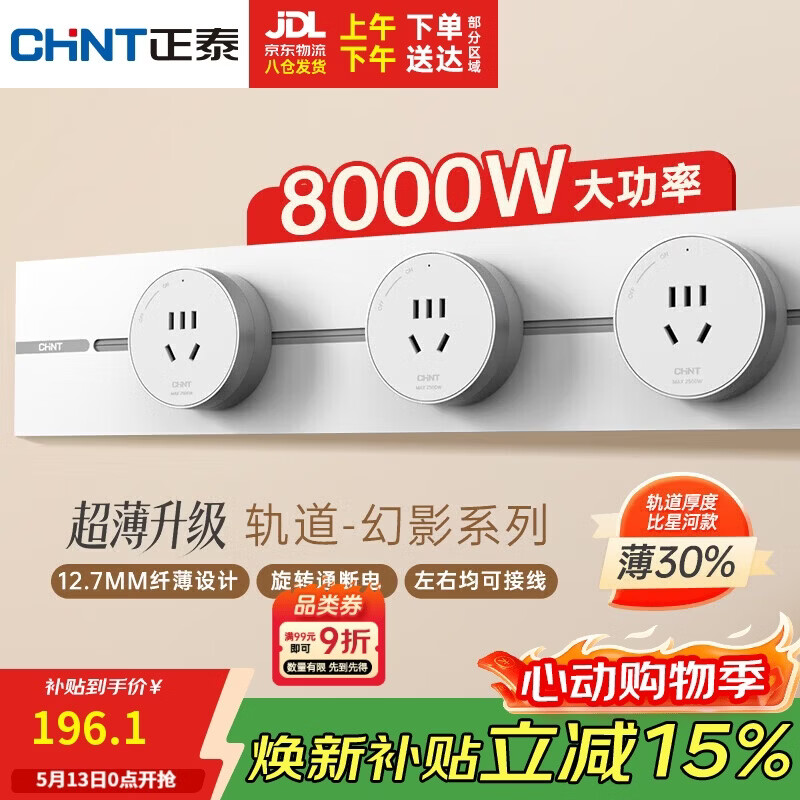
DELIXI Track Socket Fourth Generation Movable Wall-Mounted Power Strip Silver Gray 0.4m Rail + 3 Sockets
CN¥180.46
SKU: 100055138098
Status:In Stock (1)
ID: 100055138100
Weight: 1080.00 g
Dims:541x120x120 mm
Specifications
- Number of adapters
- 3 pieces
- Track material
- Metal
- Maximum power
- 8kW
- Installation
- -> Ming Zhuang
- Functions
- No additional functions
Variants / Sale Attributes
Color: [Classic Model] 40 cm + 3 FiveHole Starry Gray
Package Contents
rail socket *1
Product Description
Product Specifications
Overview
- Brand
- DELIXI
- Product Name
- Upgraded Power Track Socket
- High Power Capacity
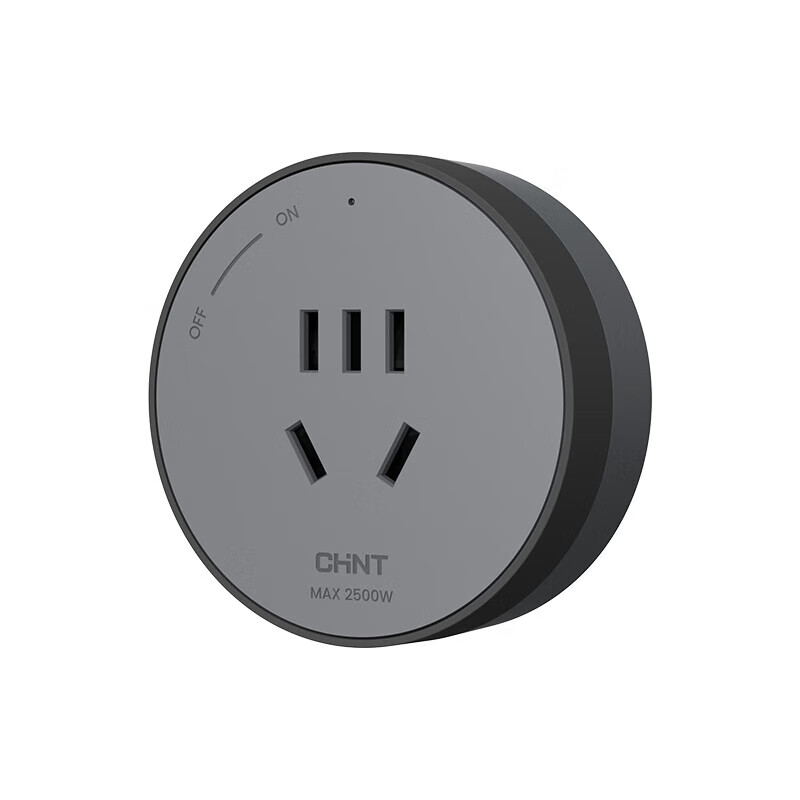
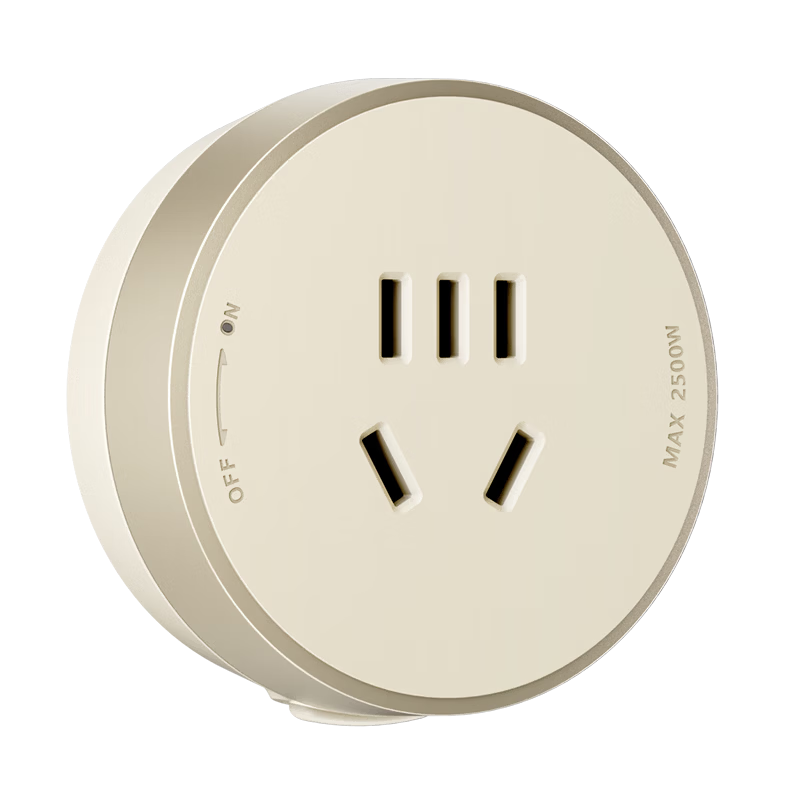
- Supports up to 8000W total load; single adapter supports up to 2500W, suitable for multiple appliances simultaneously.
- Enhanced Safety
- Upgraded insulated dust-proof strip with near-sealed openings to prevent dust and oil ingress; splash-proof design for safer use.
- Convenient Operation
- Rotatable power control—turn right 90° to power on, turn left over 45° to power off; power-off state allows lateral movement; unlocking button press required for power-off rotation.
Similar Products
In Stock
SIEMENSTrack socket
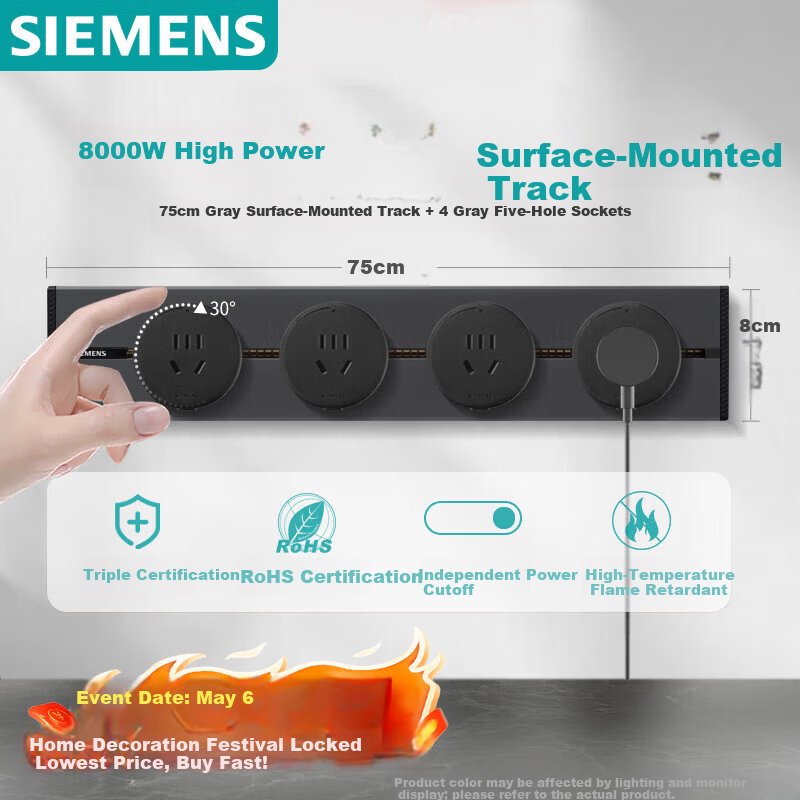
Siemens Track Socket Surface Mounted Track Power Strip 8000W High Power S10 Series 75cm with 4 Five-Hole Outlets Gray
Gray track 75cm + 4 fivehole sockets
CN¥397.23
Out of Stock
DELIXITrack socket
DELIXI Track Socket Cream Style Surface Mounted PC Material 8kW High Power Five-Hole Silver Osmanthus Yellow Adapter New Borderless Movable Rail
[Cream Style] FivePort Adapter in Silver Osmanthus Yellow
CN¥48.75